

seong
Flutter - flutter_foreground_task(2) 본문
Flutter는 기본적으로 단일 스레드(UI Thread)방식으로 동작하기 때문에 Backgroud, Foreground 작업을 하기 위해선 다른 Thread 사용 해주어야한다.
Foreground도 결국 코드를 보면 Port를 열어서 UI스레드와 통신을 하는 방식이다.
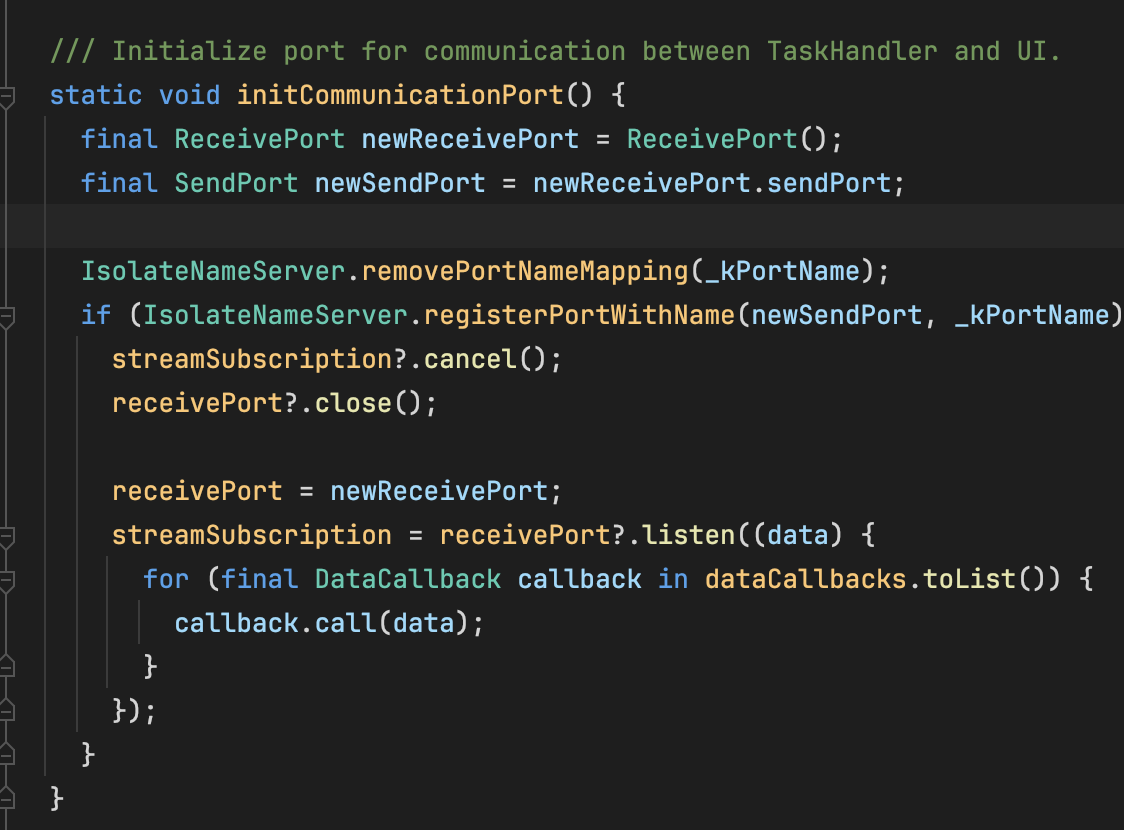
그래서 Port를 초기화 시켜주어야 하는데, 이걸 라이브러리에서 initCommunicationPort 함수로 편하게 할 수있다.
1. Main함수에서 데이터 송수신 하기 위해 Port를 초기화
// 1. Main에서 Foreground와 통신이 가능한 Port 초기화
main() {
    WidgetsBinding widgetsBinding = WidgetsFlutterBinding.ensureInitialized();
    FlutterForegroundTask.initCommunicationPort();
    }
2. 특정시간마다 Main Thread 로 데이터를 전송 및 처리가 완료되면 Receive하게 된다.
주요 함수
- onRepeatEvent() : Foreground에서 설정한 특정 시간 마다 함수를 실행
- onReceiveData() : Main Thread -> Foreground Thread로 데이터가 들어오면 해당 함수가 실행 된다.
import 'dart:isolate';

import 'package:flutter/material.dart';
import 'package:flutter_foreground_task/flutter_foreground_task.dart';

class ForegroundTaskHandler extends TaskHandler {
  SendPort? _sendPort;
  bool isBleConnected = false;

  void initForegroundTask() {
    debugPrint("ForegroundTaskHandler initForegroundTask");
    FlutterForegroundTask.init(
      androidNotificationOptions: AndroidNotificationOptions(
        // AOS 14 이상에서 CONNECTED_DEVICE를 사용하면 에러가 발생함.
        enableVibration: false,
        /**
         * VISIBILITY_PUBLIC : 알림의 제목/내용이 잠금 화면에서도 보임
         * VISIBILITY_PRIVATE : 알림이 잠금화면에서 제목만 보임
         * VISIBILITY_SECRET : 알림이 잠금 화면에서는 보이지 않음
         */
        visibility: NotificationVisibility.VISIBILITY_SECRET,
        showWhen: false, // Time Stamp
        channelId: 'Foreground Notification',
        channelName: 'Foreground Notification',
        channelDescription:
            'This notification appears when the foreground service is running.',

        /// Notification 띄우지 않음 : None
        channelImportance: NotificationChannelImportance.NONE,
        priority: NotificationPriority.MIN,
      ),
      iosNotificationOptions: const IOSNotificationOptions(
        showNotification: true,
        playSound: false,
      ),

      foregroundTaskOptions: ForegroundTaskOptions(
        // interval: 5000,
        /// 10000
        eventAction: ForegroundTaskEventAction.repeat(
            1000), // 포그라운드 호출 주기, 앱이 백그라운드 상태 일 때도 호출 하기 위함.
        autoRunOnBoot: false, // 앱 실행시 자동 포그라운드 작업 자동 실행 여부
        allowWakeLock: false, // CPU를 계속 켜둘지 여부(절전모드)
        allowWifiLock: false, // true
      ),
    );
  }

  @override
  Future<void> onStart(DateTime timestamp, TaskStarter starter) async {
    debugPrint("Flutter Foreground onStart!");
  }

// Foreground -> Main으로 요청
  @override
  Future<void> onRepeatEvent(DateTime timestamp) async {
    FlutterForegroundTask.sendDataToMain("checkConnectAndNotify");
  }

// Main -> Foreground로 들어온 데이터
  @override
  void onReceiveData(Object data) {
    if (data is Map && data.containsKey('isConnected')) {
      isBleConnected = data['isConnected'] as bool;
    }
  }

  @override
  Future<void> onDestroy(DateTime timestamp) async {
    FlutterForegroundTask.stopService();
  }

  @override
  void onNotificationButtonPressed(String id) {
    FlutterForegroundTask.stopService();
  }

  // "android.permission.SYSTEM_ALERT_WINDOW" permission must be granted for
  // this function to be called.
  /**
   * 알람 눌렀을때 호출 되는 함수
   * - 앱 상태를 resume로 변경
   */
  @override
  void onNotificationPressed() {
    FlutterForegroundTask.launchApp("/resume-route");
    _sendPort?.send('onNotificationPressed');
  }
}
3. HomeView이 initForegroundTask()
HomeView에서 사용한 이유 : HomeView는 루트 경로로 설정했다.
Flutter의 생명주기에 따라 Foreground를 실행 할지 말지를 결정을 HomeView에서 했다.
  @override
  void initState() {
    super.initState();
    WidgetsBinding.instance.addObserver(this);
    ForegroundTaskHandler().initForegroundTask();
  }
4. HomeView LifeCycle 코드
  @override
  void didChangeAppLifecycleState(AppLifecycleState state) {
    super.didChangeAppLifecycleState(state);
    switch (state) {
      case AppLifecycleState.resumed:
      // 사용자와 다시 상호작용시에는 Foreground Stop
        FlutterForegroundTask.removeTaskDataCallback(_handleTaskData);
        FlutterForegroundTask.stopService();
        break;
      case AppLifecycleState.inactive:
        debugPrint("Flutter HomeView inactive");
        break;
      case AppLifecycleState.paused:
        debugPrint("Flutter HomeView paused");

        /// Foregroudn Start
        FlutterForegroundTask.startService(
          notificationTitle: "Foreground Service is Running",
          notificationText: "Foreground Service is Running",
          callback: startForegroundCallback,
          notificationButtons: [
            NotificationButton(
                id: 'stopService',
                text: MyApp.localization.deleteForNotification),
          ],
        );

		/// 데이터 송수신 함수 추가
        FlutterForegroundTask.addTaskDataCallback(_handleTaskData);

        break;
      case AppLifecycleState.detached:
        debugPrint("Flutter HomeView detached");

        break;
      case AppLifecycleState.hidden:
        debugPrint("Flutter HomeView hidden");

        break;
    }
  }
5. Main Thread에서 전달 받은 값 확인 후 다시 Foreground로 결과 값 반환
 /// Main Thread에서 데이터를 전달 받으면 함수 처리 후 결과 전송
 void _handleTaskData(Object data) async {

    // 1. 전달 받은 데이터 확인
    if (data == "checkConnectAndNotify") {

      // 2. 실행할 함수
      await watchVm.checkConnectAndNotify();

      // 3. 결과 값 Foreground로 전송
      FlutterForegroundTask.sendDataToTask(
          {'isConnected': watchVm.isConnected});
    }
  }
공부 하면서 한 코드이다 보니 틀렸거나 피드백이 필요한 부분은 언제든지 감사합니다😀
'Flutter > Flutter' 카테고리의 다른 글
'Flutter/Flutter' Related Articles
more

